Friday 17 March 2017

Raspaudit

Today I will speak about my finally degree project: Auditing system for corporative networks using open source software on a Raspberry Pi. The project is mainly written in Python and it has two separate parts. The main one runs on the Raspberry and performs several analysts on the target network. The other part is a Python/Django based server deployed on a remote location.

Raspberry

On the Raspberry, a script called main.py acts as the controller, uploading the obtained data do the remote server and sequencially calling three scripts. Each of those scripts performs a different analysis on the network, namely: passive, ports-services and vulnerabilities.

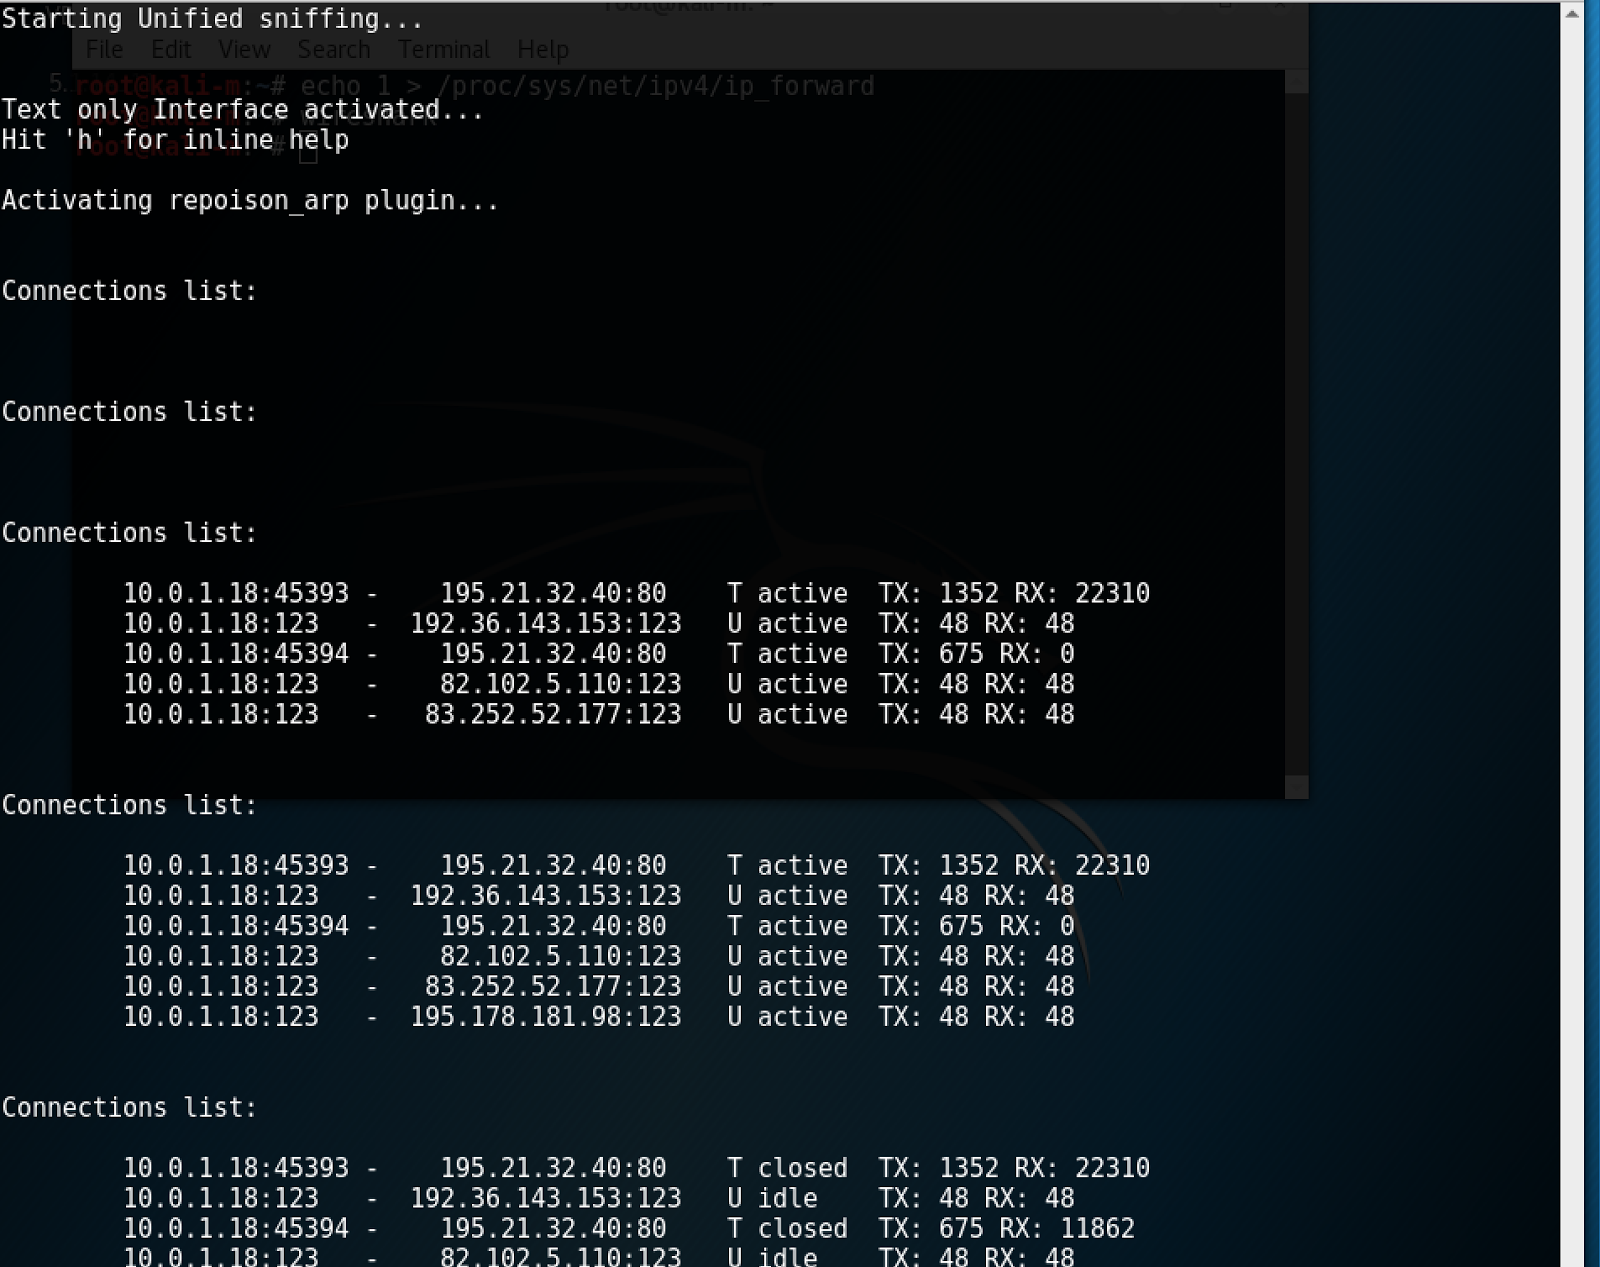
The passive analysis, after obtaining an IP address using DHCP, captures all the traffic it receives but doesn't send any packet to the network. Therefore, the likeliness of raising any alarms is significant reduced. This analysis was implemented using Scapy, a powerful library for Python designed to assist in network packet manipulation. Using broadcast traffic (e.g. NetBIOS, SSDP...), it's possible to discover information about machines on the network, such as their name or the operating system they are ruining. 

Most of the complexity of this part lied on the lack of information about some of the analysed protocols, some of them weren't even detected by Scapy, hence they were directly read in hexadecimal. Moreover, I found the leaning curve for Scapy to be quite long, mainly due to the limited documentation availability. I I'm planning on further discussing passive analysis on a later post. 

The ports and services analysis is performed right after the passive one. Using the machine list previously obtained, nmap is run, connected to our code with the python-nmap library. During this stage ports and services running on them are scanned, improving the machine information from the previous analysis. Nmap scan is limited to very common ports (e.g. 80, 443, 137...) and to those ports used by nodes to send broadcast traffic. By default, nmap is run with the -T0 option, trying to reduce the chances of being detected. 

Finally, a vulnerability analysis is performed. OpenVAS, a framework for vulnerability assessment, is the tool is selected for this part, connected to Python through the openvas.omplib library. The main challenges faced at this stage were once again related with the lack of documentation, both for OpenVAS installation and setup and for starting the scan and parsing the results from Python. Moreover, the limited resources of the Raspberry Pi were quite obvious when installing and running OpenVAS. As a result, the framework needs to be started at the same time as the main.py script, in order to leave time for it to load. 

During every analysis, main.py periodically sends a JSON file with the obtained information to the server. Additionally, when the vulnerability analysis is performed, the JSON file —with vulnerability assessment information appended— is sent together with the OpenVAS HTML report to the remote server. During early development stages of the project, this traffic was sent to the server using the audited network. However, in order to avoid sending more traffic than needed to the target network, an auxiliary connection was set up. Particularly, I used a 3G/4G USB dongle, but WiFi could also be a wise choice, depending on the circumstances. In any case, traffic is sent encrypted, using HTTPS. 

Server

The server receives information from one or several Raspberries. Using the /upload address, Raspberries can upload the analysts results in JSON or HTML. They are authenticated by a client certificate installed on them. Thus, communication security is ensured. 

On the other hand, users are granted access to the web GUI when they log in with their username and password. This graphical interface shows (left to right):

  • A list of the devices (Raspberries) that have sent information to the server. 
  • The list of audited networks for the selected device. 
  • A graph of the detected machines on the selected network. 
  • The information of the selected machine, together with the link to the related OpenVAS report in HTML, should it be available. 

Conclusion

Overall, the project achived the main objectives that I had established. The auditing device performs a wide analysis of the machines within the same broadcast domain and sends the obtained information to a remote server through an independent connection. 

However, I would definitely improve the web interface, both its graphical design (starting by making it responsive) and its functionality (e.g. adding a control panel for controlling the Raspberries from the web app). Moreover, extensions such as WiFi network auditing could prove interesting in order to obtain more information about networks within an organisation. 

Thursday 2 March 2017

MitM

There is definitely a lot of information about man-in-the-middle attacks on the Internet. However, this also means that finding basic and simple tutorials can be tedious. Therefore, with this post I'll try and summarise the main MitM tools for Linux and explain how to perform ARP spoofing with them, being able to capture victim's traffic.

During a man-in-the-middle attack, the attacker secretly acts as a proxy for the communication between two parties. When performing it in LAN (Local Area Network) environments, where the attacker usually shares broadcast domain with the targets, the typical technique used lies in poisoning the ARP cache of the victim(s) and their gateway. Thus, the attacker can capture all the traffic between the victim(s) and the Internet.

ARP is a protocol used for translating IP addresses into MAC ones, allowing physical connected devices to communicate using IP addresses. This protocol doesn't provide any authentication mechanisms, making possible for an attacker to send fake ARP messages (ARP spoofing), so the traffic sent by the victim to a server or gateway is actually transmitted to the attacker. In order to obtain server's response, the other end of the data transmission (gateway or server) must be ARP poisoned too, performing therefore a full-duplex MitM, as opposed to a half-duplex one.

In this way, victim's traffic is sent to the attacker's machine, which has to forward it to the real destination (so the victim doesn't lose connection). Thus, the attacker can see victim's traffic. However, if it is encrypted, being able to decrypt it is highly unfeasible, provided secure protocols are being used (TLS, SSH...). In order to bypass this limitation, an attacker could make the victim's machine establish the encrypted connection with his/hers or the victim could be tricked into using insecure protocols (e.g. HTTP instead of HTTPs with SSLStrip).

Probably, the most common MitM tool is Ettercap, which has been available since 2001. Nevertheless, there are other solutions that implement interesting functionalities, namely BetterCAP or MITMf. This post will be aimed at explaining how to perform ARP spoofing and traffic sniffing with each of the mentioned tools, with no deep analysis of other capabilities.

Ettercap

As I mentioned, Ettercap is the most mature project, so it can be installed from repositories with many Linux distributions. Moreover, is open source and, due to its popularity, there is a great amount of available plugins that increase its capabilities. However, they are written in a specific language, increasing the learning curve.

In order to perform and ARP spoofing attack, the following command can be used (10.0.1.18 is the victim's IP address and 10.0.1.1 the one from the gateway, although, in this scenario, order is not important):
ettercap -T -M arp:remote /10.0.1.18// /10.0.1.1//

By default, Ettercap only sniffs traffic between the specified addresses. If we also want to sniff traffic with other end point (e.g. to the Internet) the option remote (arp:remote) must be used. The attack can be also performed in a half-duplex fashion. In this way, we avoid ARP spoofing one of the targets, typically, the gateway.

It is worth noticing, that Ettercap doesn't automatically enable IP forwarding, so we need to manually do so in order to avoid blocking victim's connections (DoS attack).

    By default, Ettercap verbosely shows all sniffed traffic. I don't find this very useful, as it makes more difficult to extract information at a glance.

    Using the quiet option (-q), Ettercap doesn't show each packet, but we still can check intercepted connections with the C key.


    As shown by the snapshots, Ettercap output is not perfect. However, it is possible to write sniffed traffic to a file (-w option) and open it later with any other tool (e.g. Wireshark).

    BetterCAP

    In order to address several shortages Ettercapevilsocket started developing this open source tool. With some Linux distributions like Kali, this tool can be installed from repositories. If you are using another one, you just need to install RubyGems environment and follow the steps available on the official webpage

    Once installed, in order to capture traffic between a victim (10.0.1.18) and the gateway (detected by BetterCAP), we just need to run the command below:
    bettercap -T 10.0.1.18 --full-duplex

    By default, BetterCAP performs the MitM attack in half-duplex mode. If we need traffic in both ways (host to gateway and gateway to host) we need to denote it with the --full-duplex option. Unlike Ettercap, BetterCAP automatically enables IP forwarding, so there is no need of doing it manually.

    BetterCAP sniffing

    BetterCAP shows a more summarised and organised output than Ettercap. It is easier to go through the results, as they are not as verbose. Moreover, if we need a deeper analysis we can save the capture (--sniffer-output option) and analyse it later with tools like Wireshark.

    Furthermore, BetterCAP also resolves IP addresses, showing the URL of the resource requested by the user. This is useful for quickly learning which pages the victim is visiting. For HTTPS requests, we can only see the domain name, as the resource address is encrypted. 

    For this particular case, we can't see the domain that the victim requested (google.es) but we get https://arn09s11-in-f163.1e100.net, which is the result of a reverse DNS query of google.es IP address (e.g. dig -x 172.217.22.163). In any case, I find this output better than the one provided by Ettercap.


    MITMf

    Firstly, you should know that even if using Kali Linux, the installation procedure is not as straightforward as for BetterCAP. However, it is definitely not rocket science and there is a tutorial available here. However, the command source /usr/bin/virtualenvwrapper.sh didn't work for me using Kali Linux. You just need to find the right location of the script. This can be learnt with the following command:
    find / | grep virtualenvwrapper.sh
    Once installed, in order to perform an attack like the ones carried out with the other tools, the command shown below can be used (10.0.1.23 is the victim's address and 10.0.1.1 is the gateway's):
    ./mitmf.py -i eth0 --spoof --arp --target 10.0.1.23 --gateway 10.0.1.1
    MITMf output is similar to the one shown by BetterCAP. In addition, it tries to identify victim's browser and OS. On the other hand, BetterCAP output shows HTTPS connections (MITMf doesn't) and the use of colours for results makes reading them easier.

    MITMf output that shows victims connections and basic browser and OS fingerprinting.

    Conclusions

    Overall, performing a simple MitM attack can be accomplished with any of the mentioned tools. I prefer BetterCAP output, but MITMf performs basic browser and OS fingerprinting, which can be useful. However, no matter which tool we are using, captured traffic can be written to a file and analysed later. Hence, the quality of the default screen output is not the main reason to choose one tool over the others.

    What can indeed be a deciding factor is the suitability for our needs of the extra functionality that each tool includes. For instance, Ettercap is compatible with a large number of plugins, written in its specific language. On the other hand, BetterCAP is compatible with plugins written in any language, as long as the act as a proxy. Moreover, it is by default able to create bogus HTTPS connections, impersonating the real server, or to perform SSLStrip attacks. Finally, MITMf includes a great number of plugins out of the box: traffic injection/modification, SSLStrip+, session hijacking, JavaScript Keylogger...

    In summary, all the mentioned tools provide similar basic capabilities. Thus, the decision of which one to choose should be motivated by the advanced functionalities that are needed for each particular scenario. If you want to learn more about the differences between BetterCAP and MITMf, you can check out this Reddit thread, with comments from the inventors of both tools.